This easy tutorial will show you how to make a pillow cover with a zipper.
I’m pretty sure most of you know by now that I have a huge obsession with throw pillows. I have been making curtains for years, but the crazy thing is, I have never made a pillow cover with a zipper until now! My mother-in-law was kind to guide me through the process so I could share this tutorial with you all. I hope you find it helpful and motivating to start making some pillows for your own home!

What you will need:
- Two squares of fabric for the front & back of your pillow cut an inch smaller than your pillow insert. For Example: If your pillow is 24″ x 24″, then cut your fabric 23″ x 23″.
- Two squares of fabric for the lining of your pillow cut 1″ shorter than the size of the finished pillow just like fabric.
- A zipper that is the finished length of pillow insert. (Tip: Its easier to buy one too long and shorten it to correct length)
- matching thread
Let’s get started making our pillow cover
Step 1:
Cut your fabric and the lining 1″ smaller than your insert. For example, if your pillow insert is 24″ X 24″, cut your fabric 23″ x 23″. I like my pillow to fit snug inside, so it has a more expensive look.

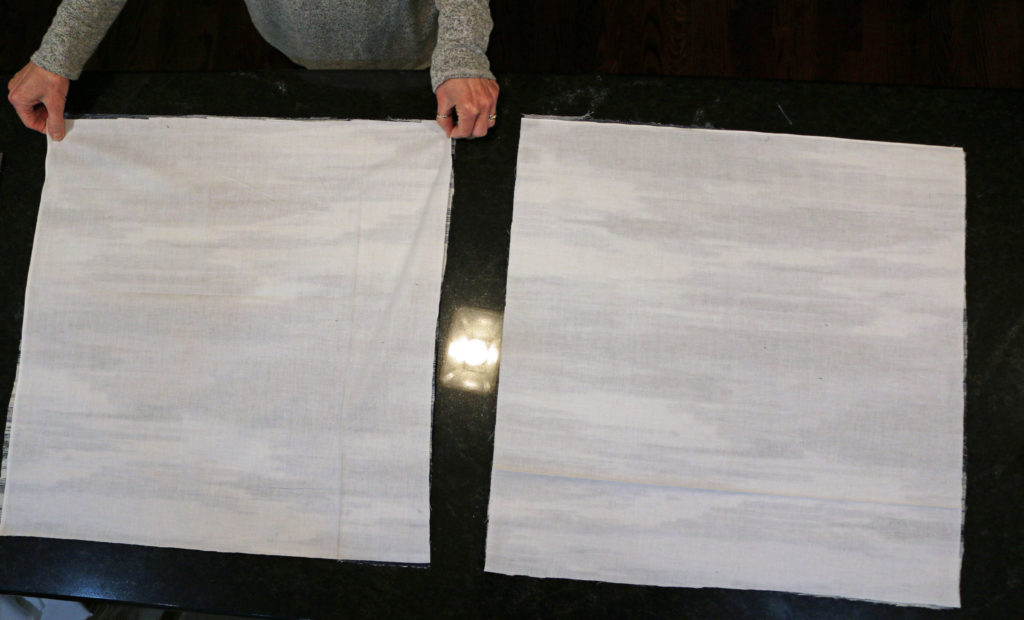
How to Shorten Zipper Length if needed
If you want to use a zipper that is too long, you can shorten it to fit, as follows: Measure 1/2″ from the edge of fabric and mark.
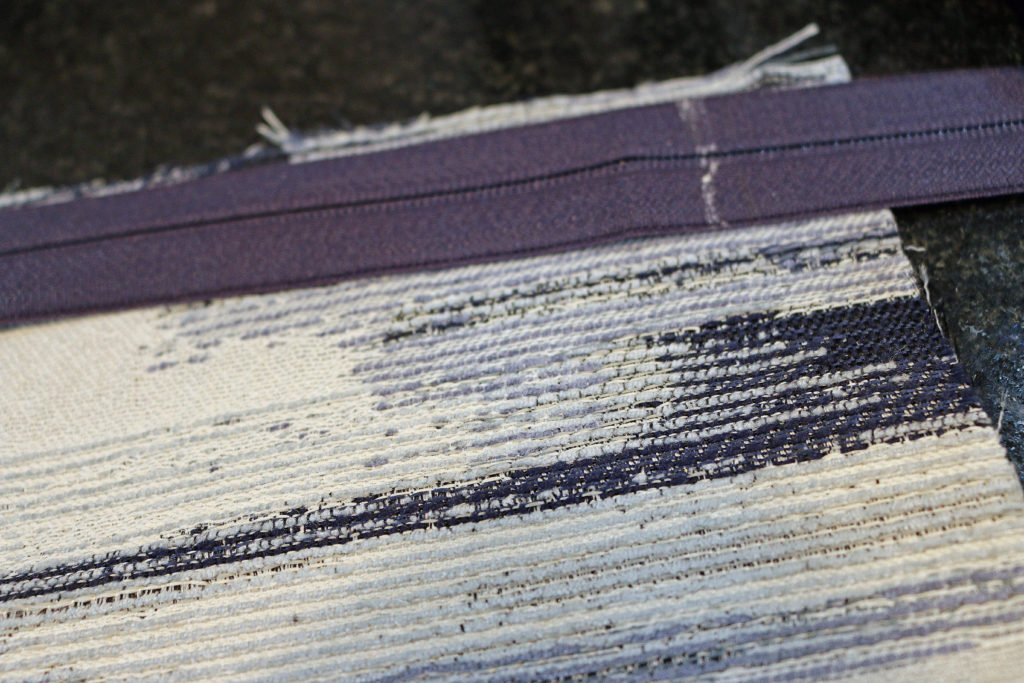
Stitch over the coil several times by hand or machine zig zag over coil to create a new bottom stop. Trim away the excess zipper 1/2″ below the stitching.
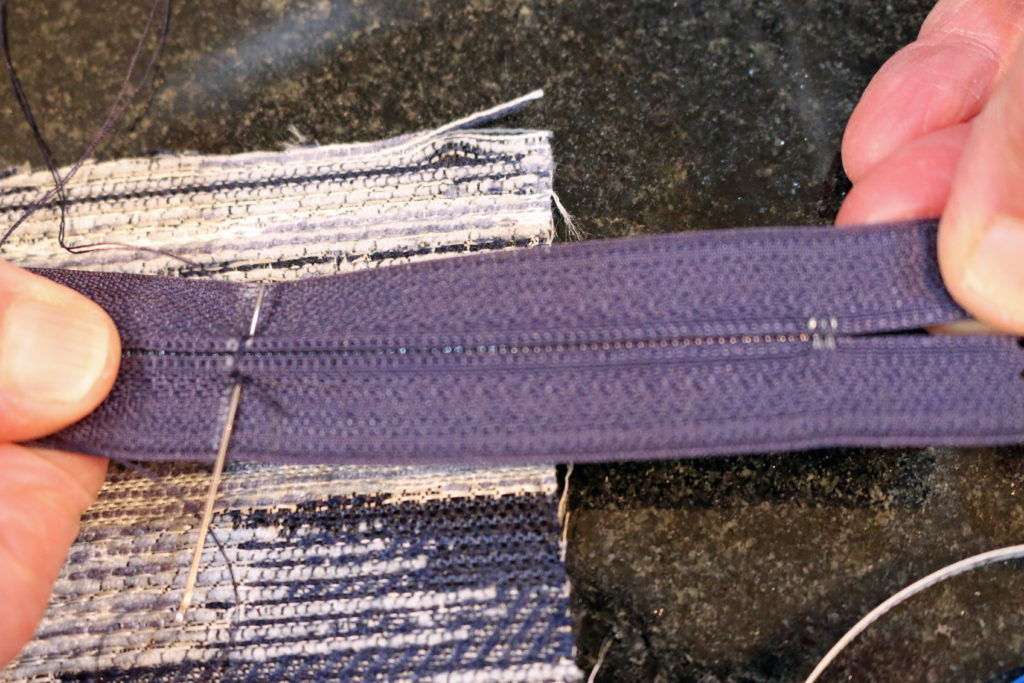
Step 2:
Close the zipper and place it on the top of fabric with right sides together. Position the zipper pull 1/2″ from the edge of the fabric and then align the edge of the zipper tape along the upper raw edge of the top of fabric & pin.
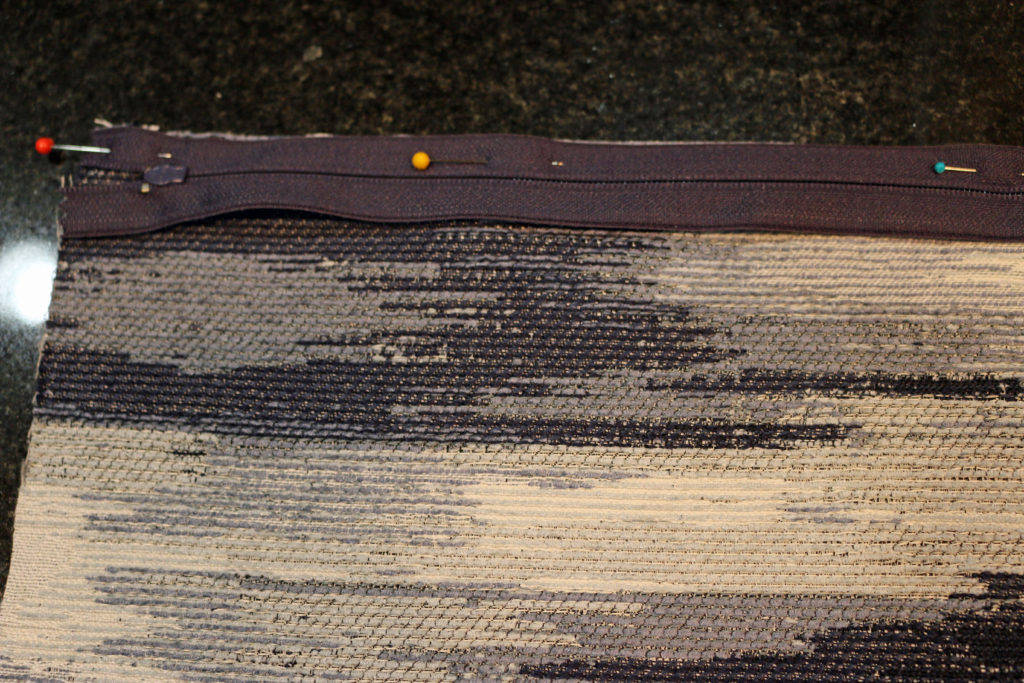
Step 3:
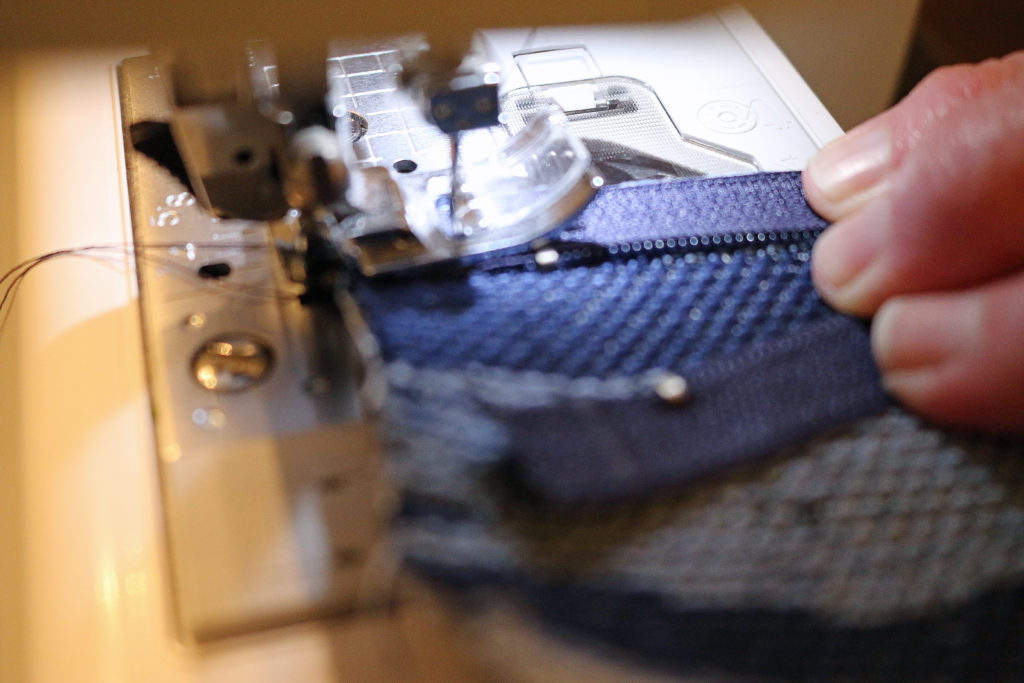
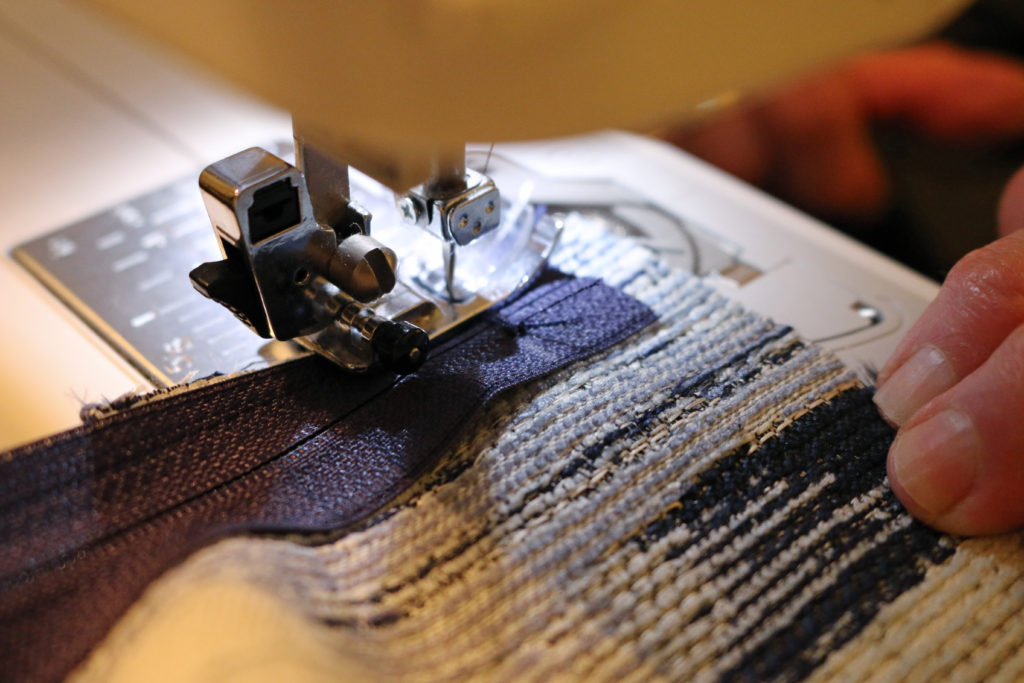
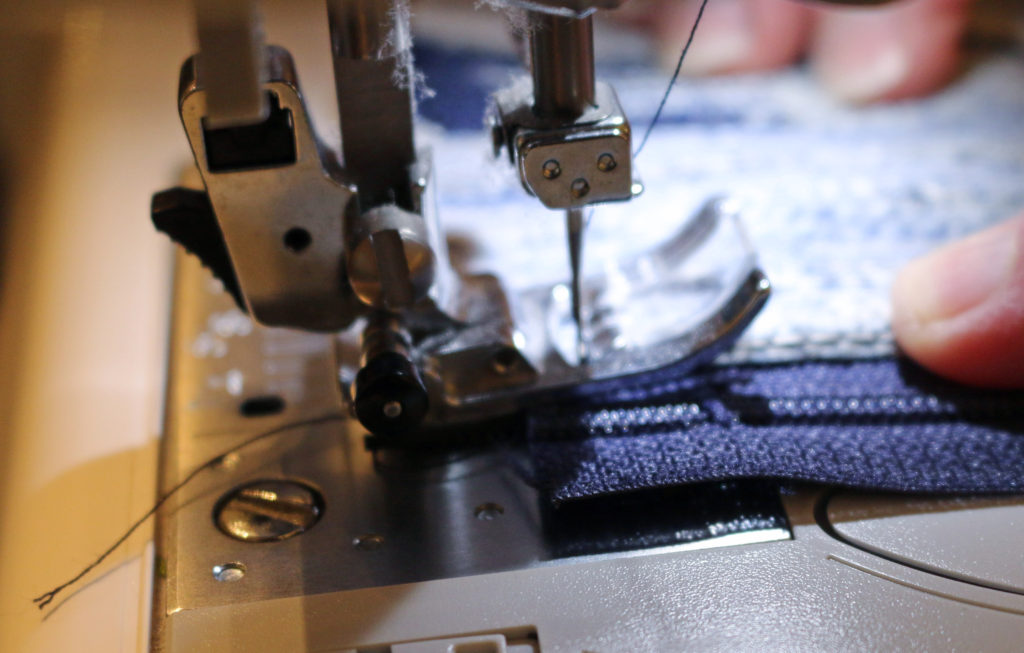
Using a zipper foot, stitch the zipper to the top of one panel. Tip: Unzip a little to get started. Leave a 1/2″ seam allowance at both ends.
Step 4:
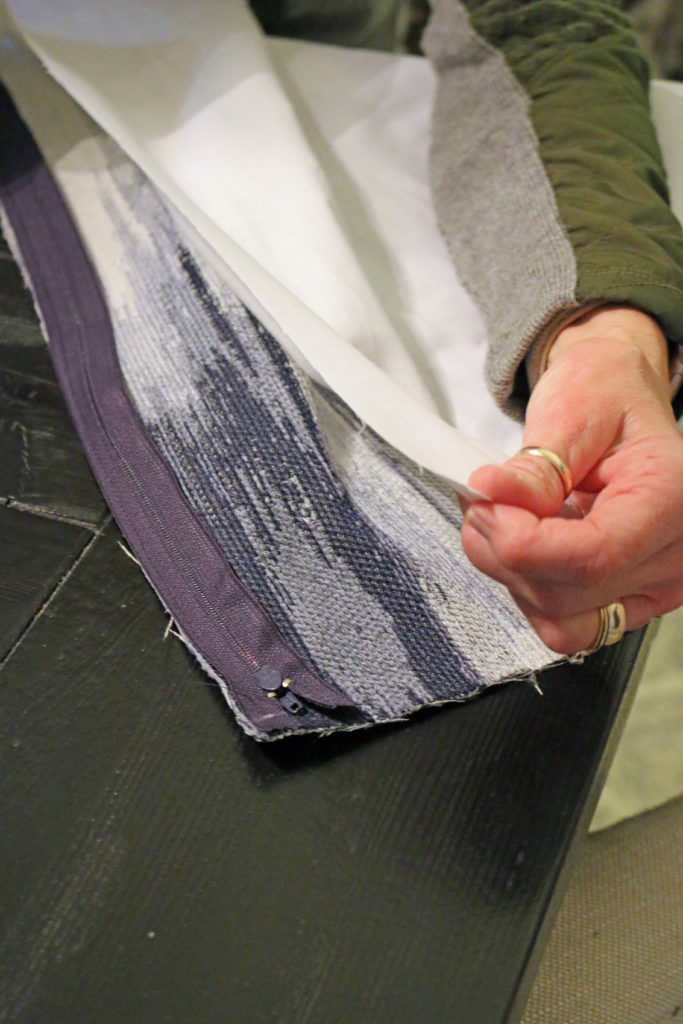
Pin together the top edges of the lining front and the top fabric, with right sides facing. The zipper will now be between the top panel and the lining.
Step 5:
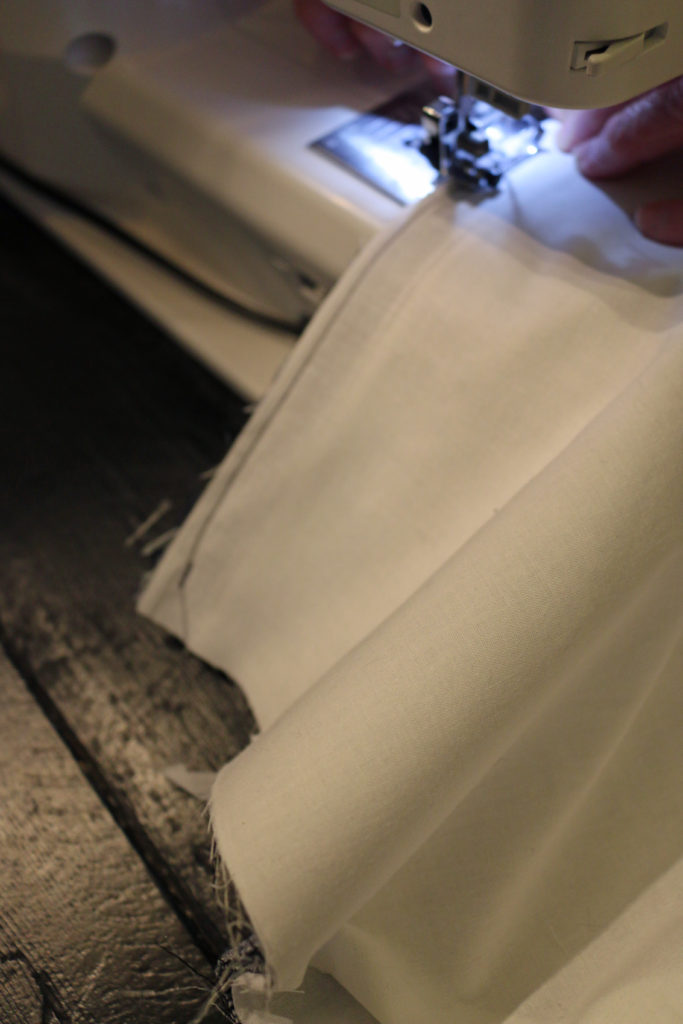
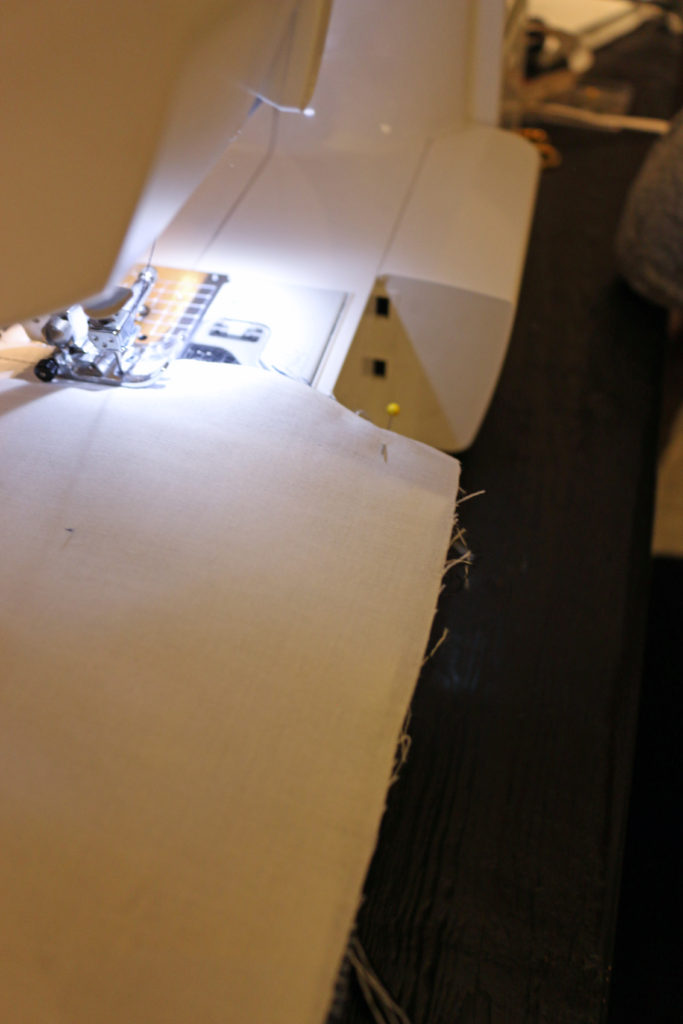
Using a zipper foot, sew the 3 layers together close to the zipper coils, leaving a 1/2″ seam allowance at both ends.
Step 6:
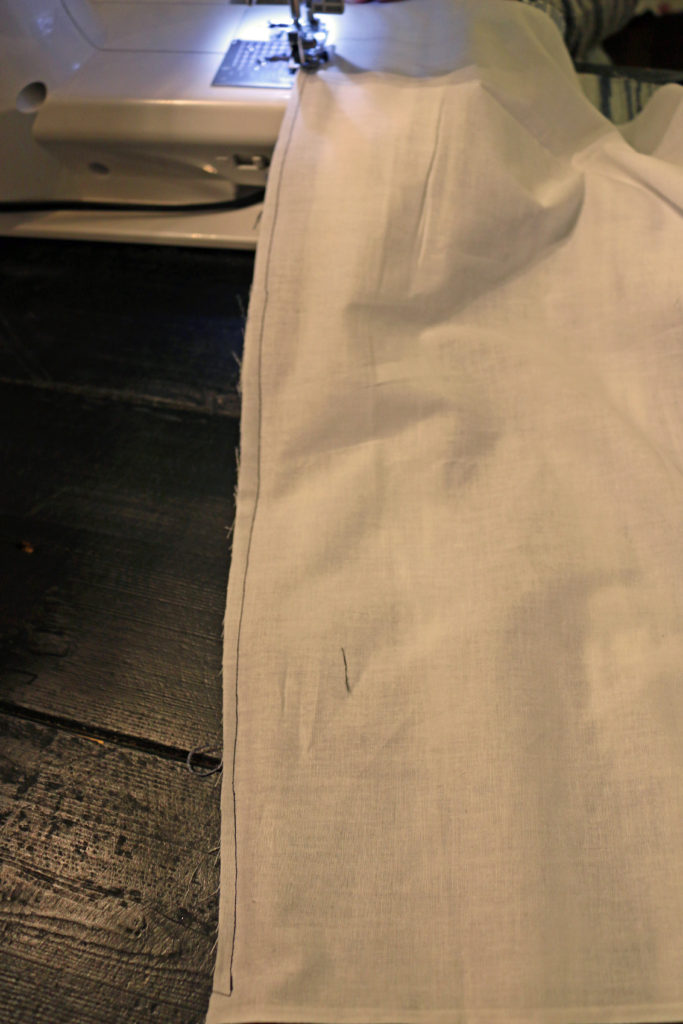
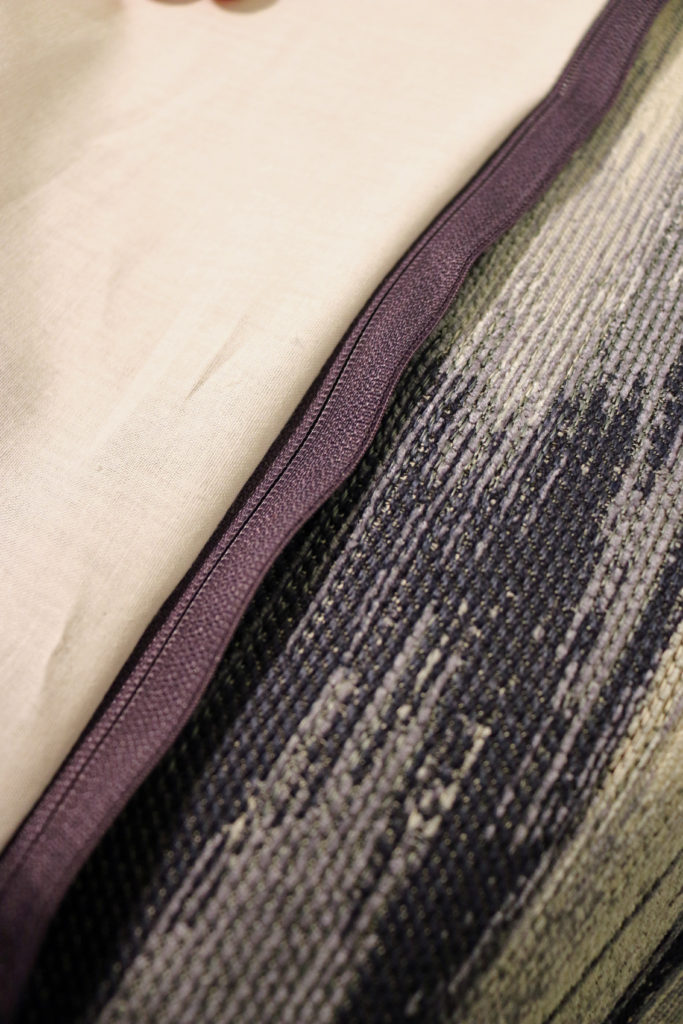
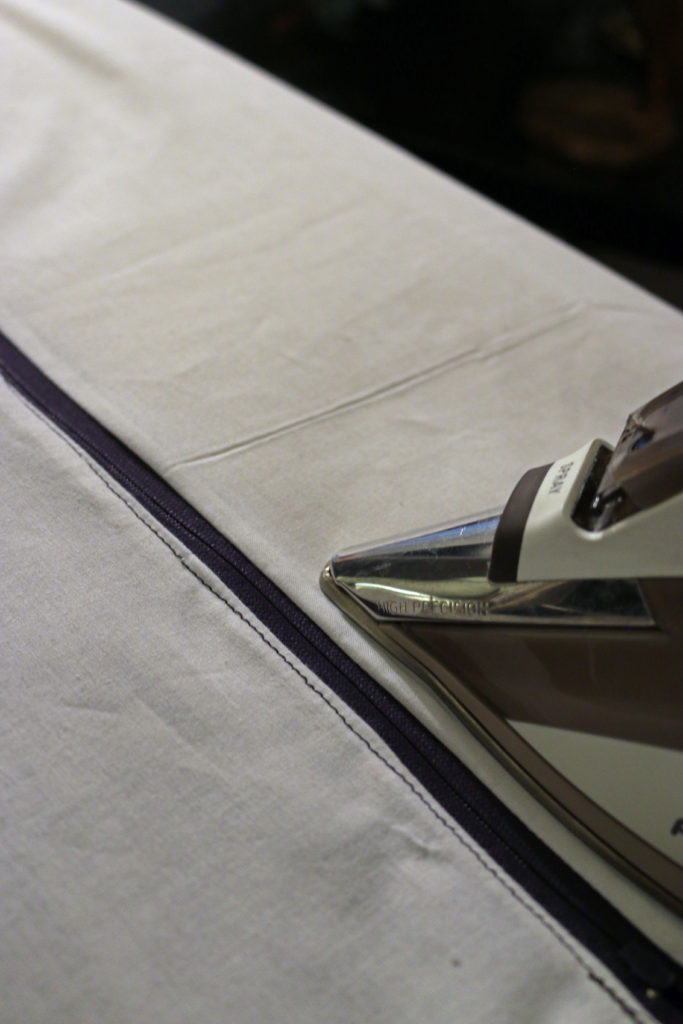
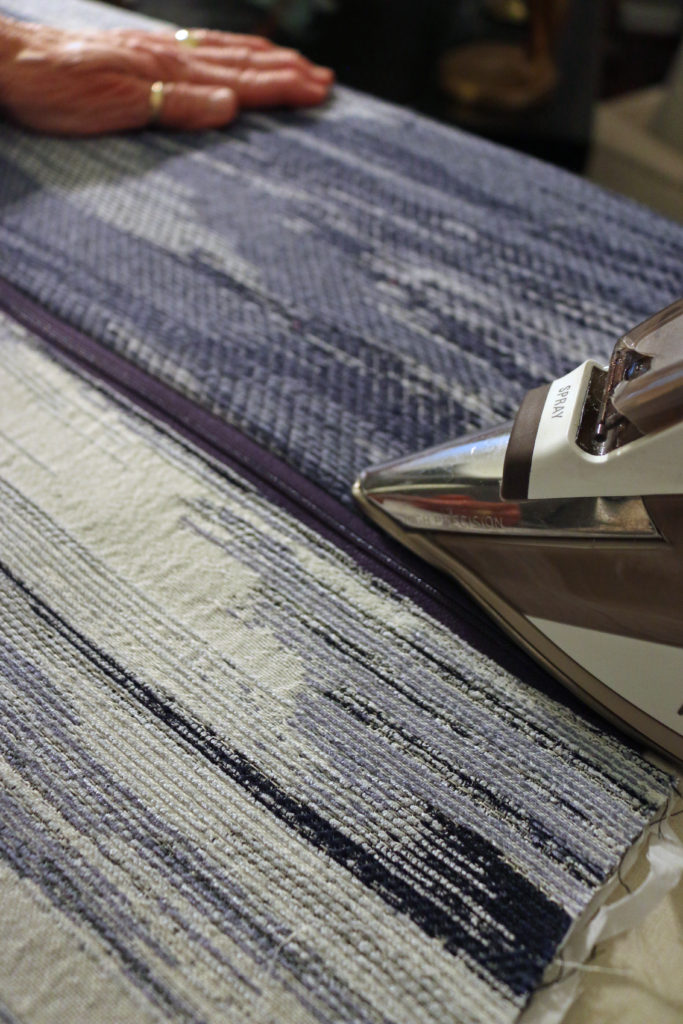
Flip the lining over to the wrong side, and press.
Step 7:
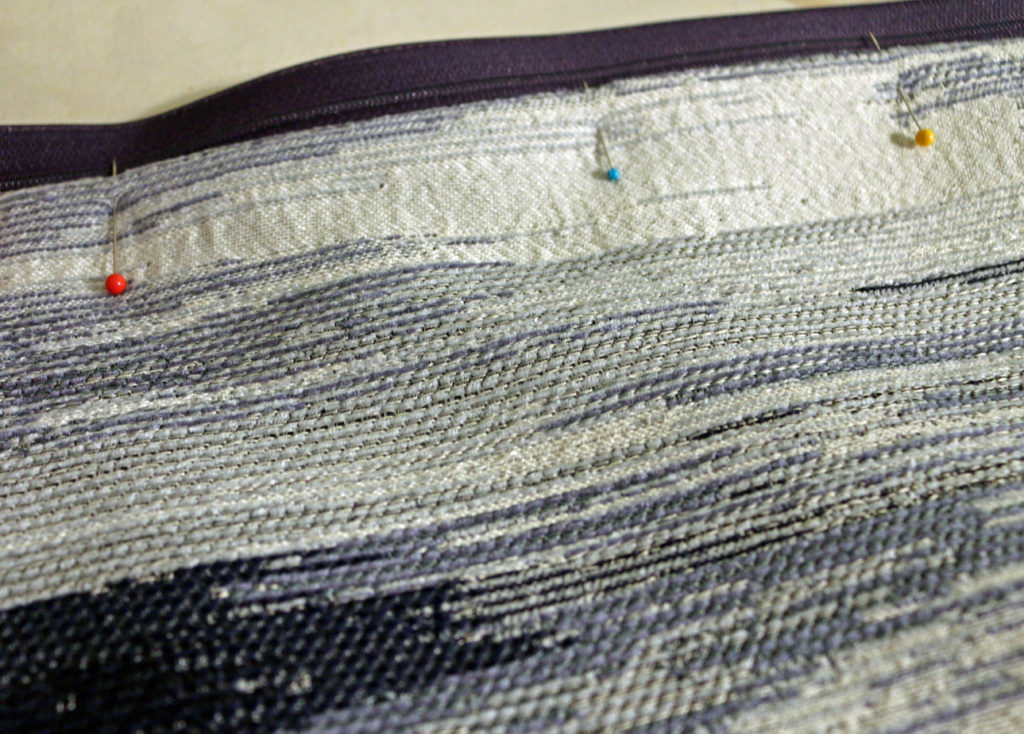
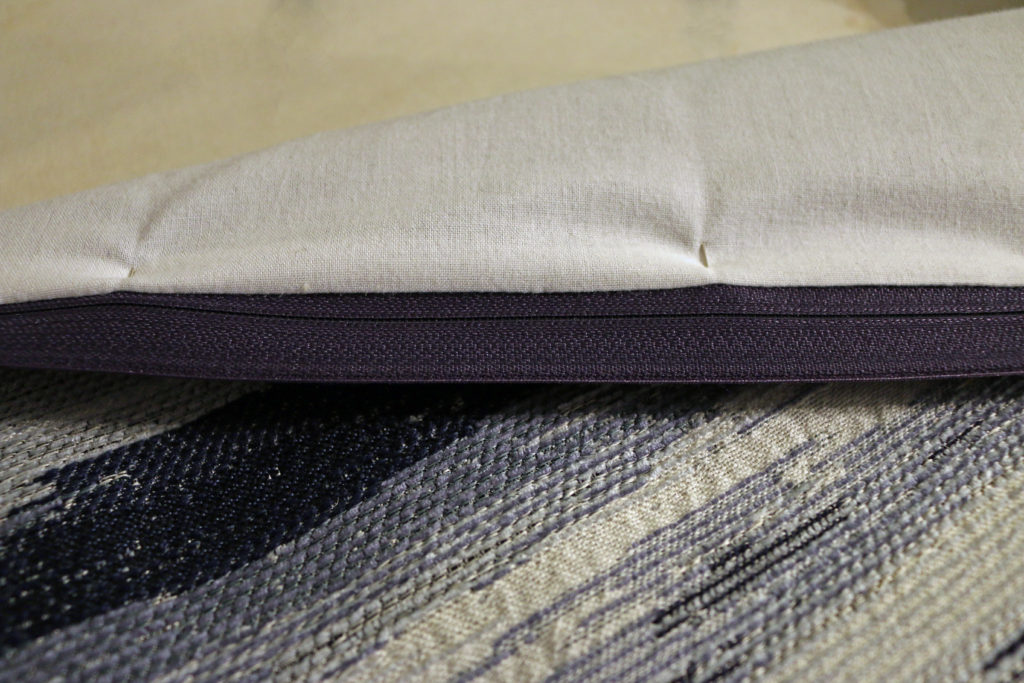
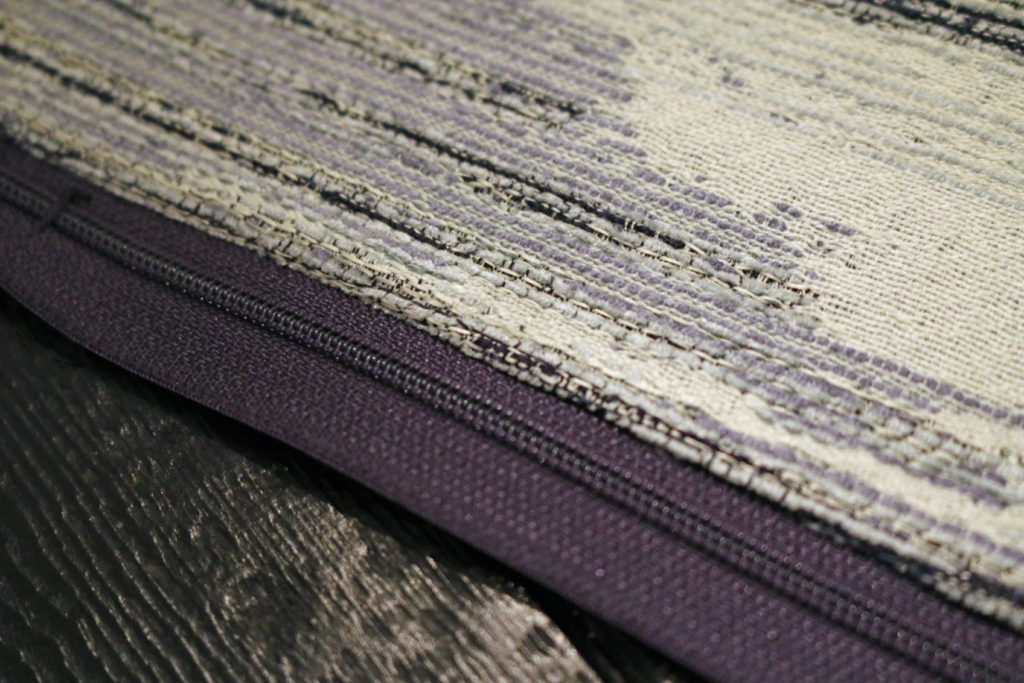
Pin and topstitch the fabric and lining close to the zipper coils through all the layers, leaving a 1/2″ seam allowance at both ends. That is a completed front of the pillow.
Step 8:
Repeat with the back fabric panel and lining like you did with the front.
Step 9:
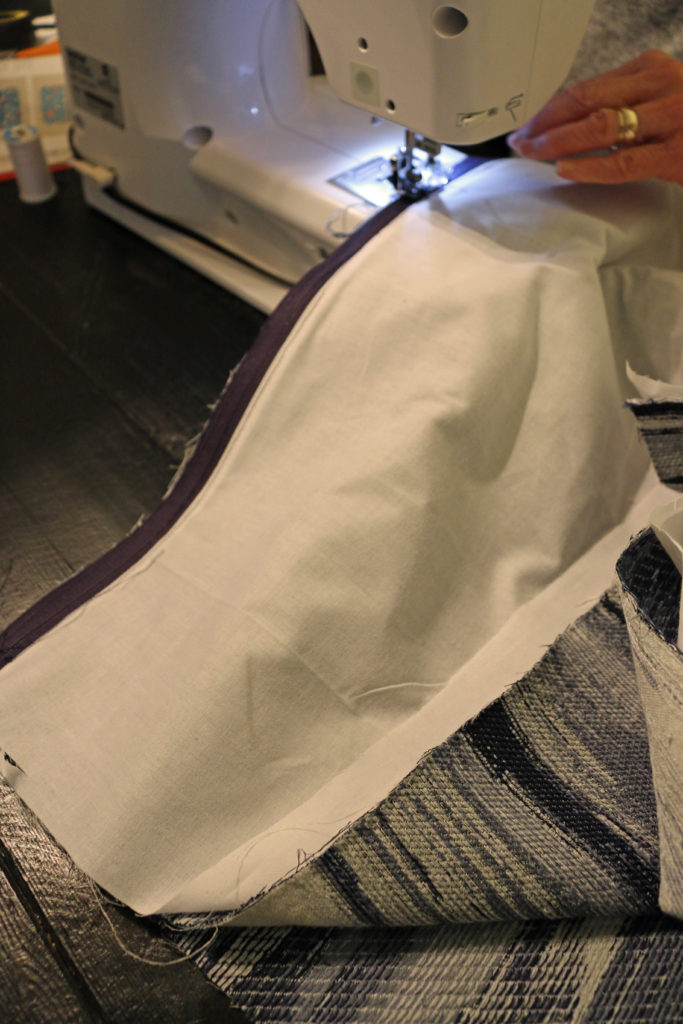
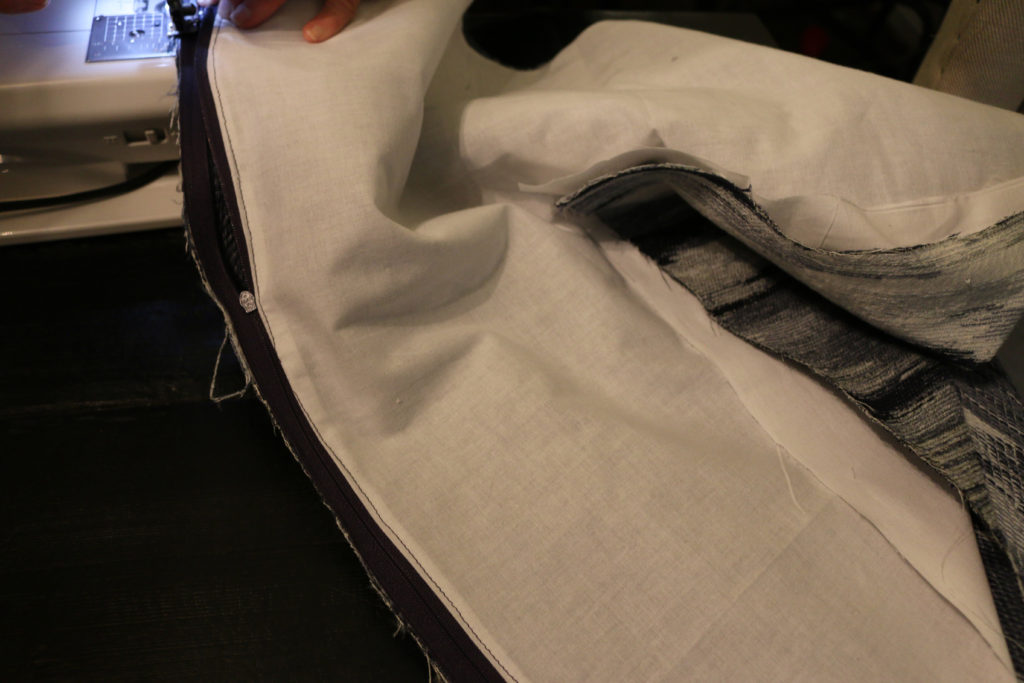
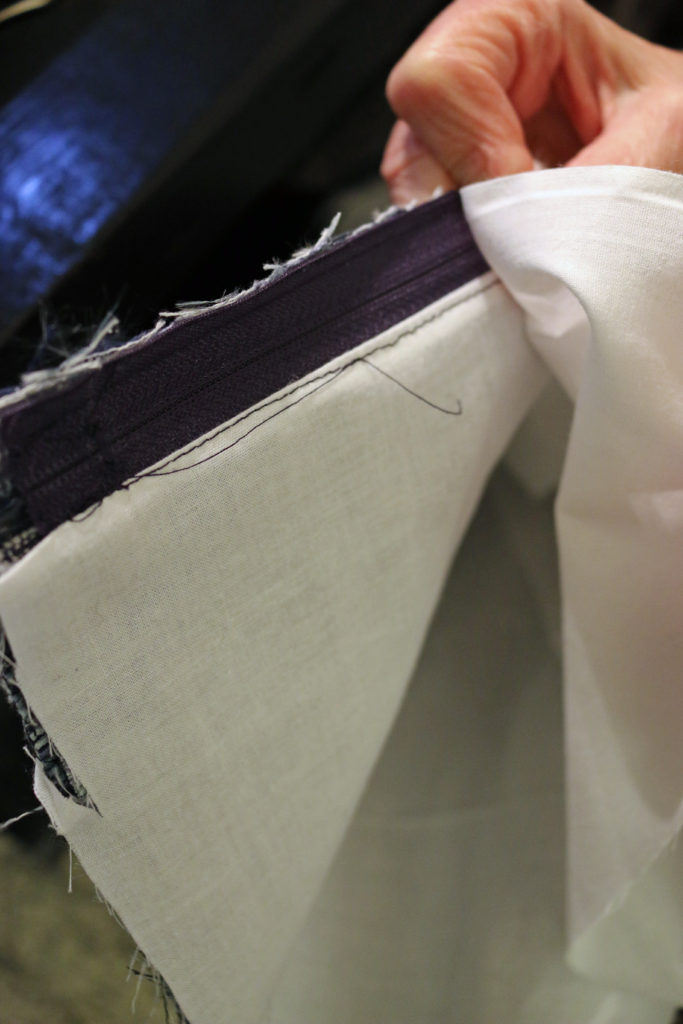
Pin the last piece of lining with right sides together, and sew carefully next to the zipper coil.
Step 10:
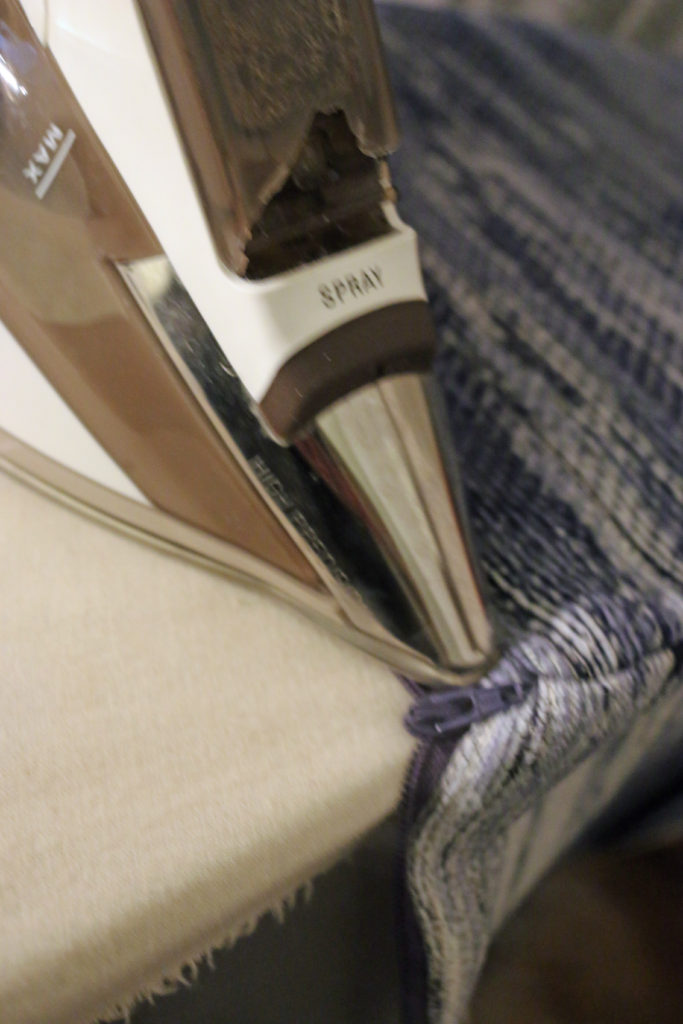
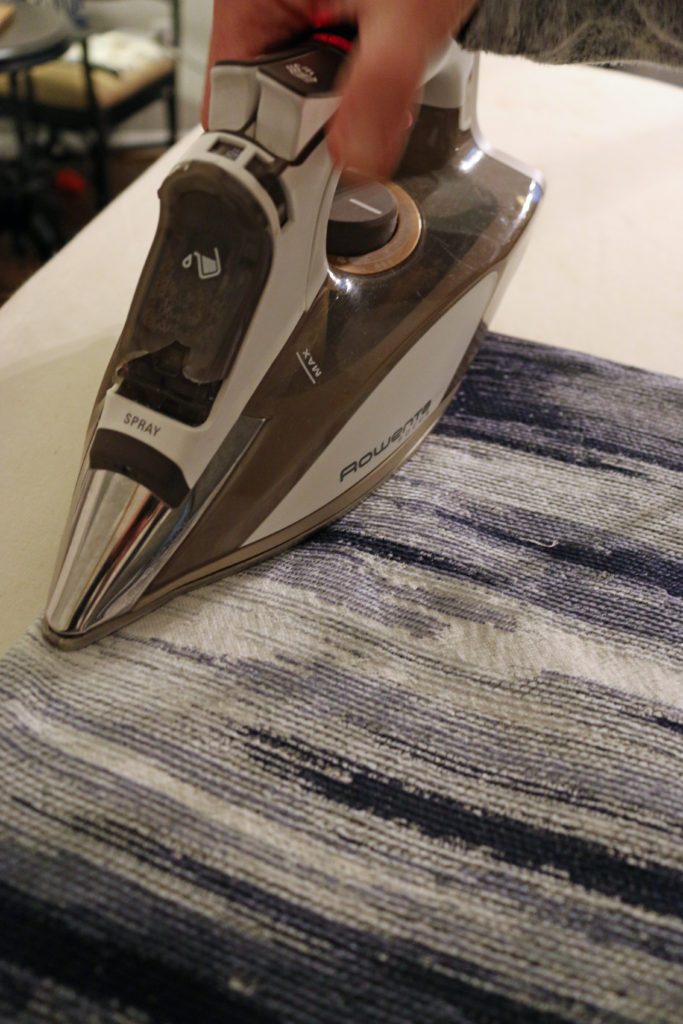
Iron both sides of fabric.
Assembling the Exterior and Lining
Step 11:
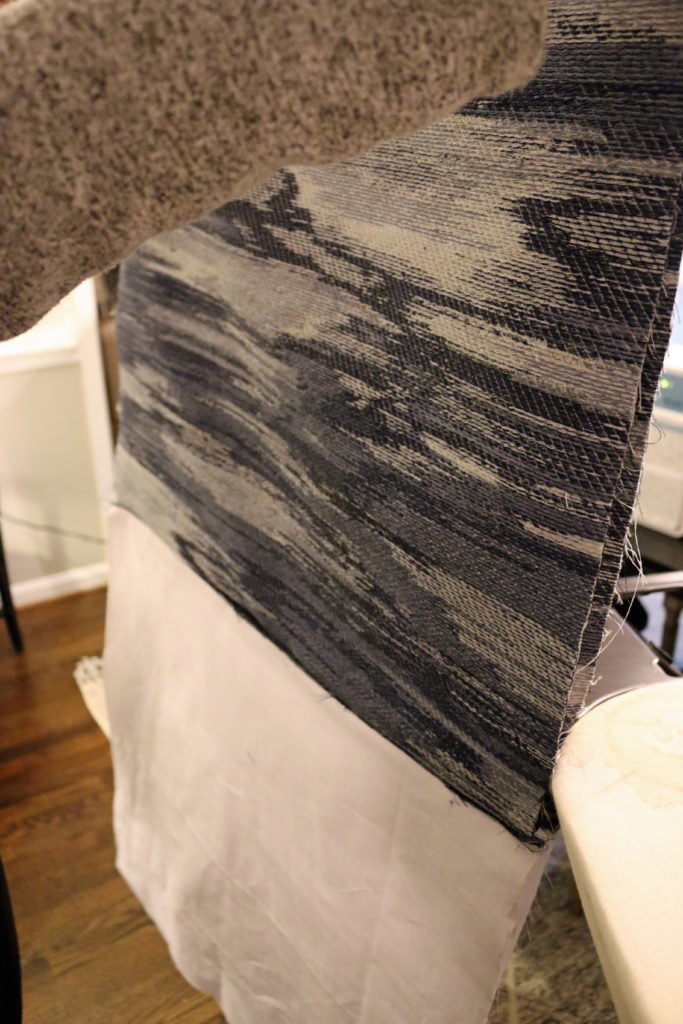
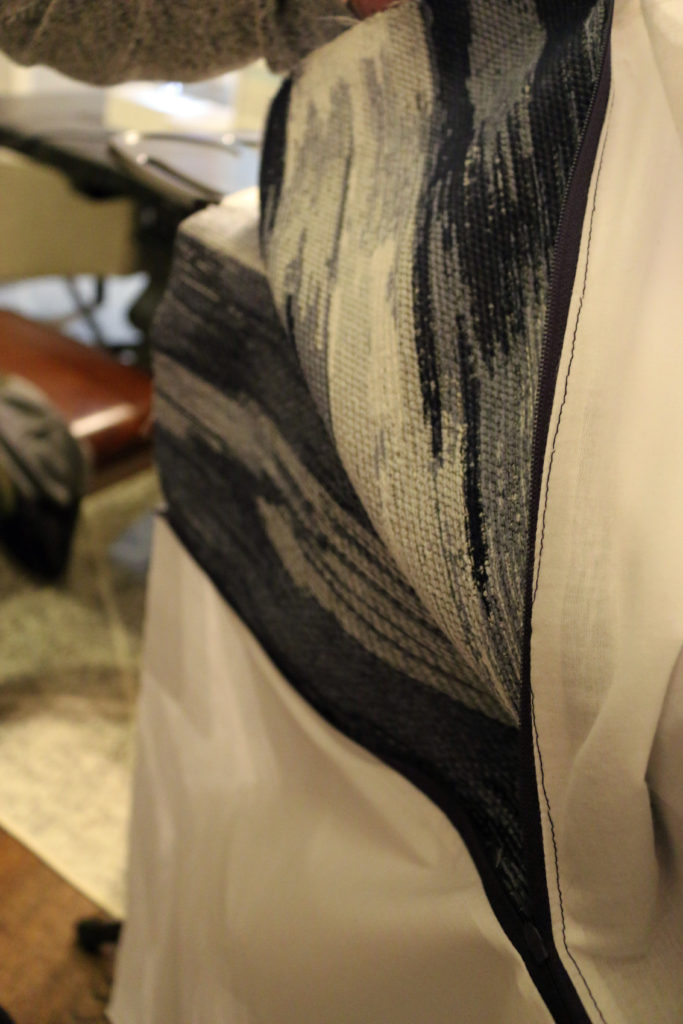
This is a critical point: Open the zipper before continuing. Place the exterior fabric front and back piece with right sides together, flipping the zipper coils toward the lining.
Step 12:
Pin and sew the fabric front and back pieces with right sides together (but not over the zipper coil), backtacking at both ends. When stitching the exterior, do not sew into the lining.
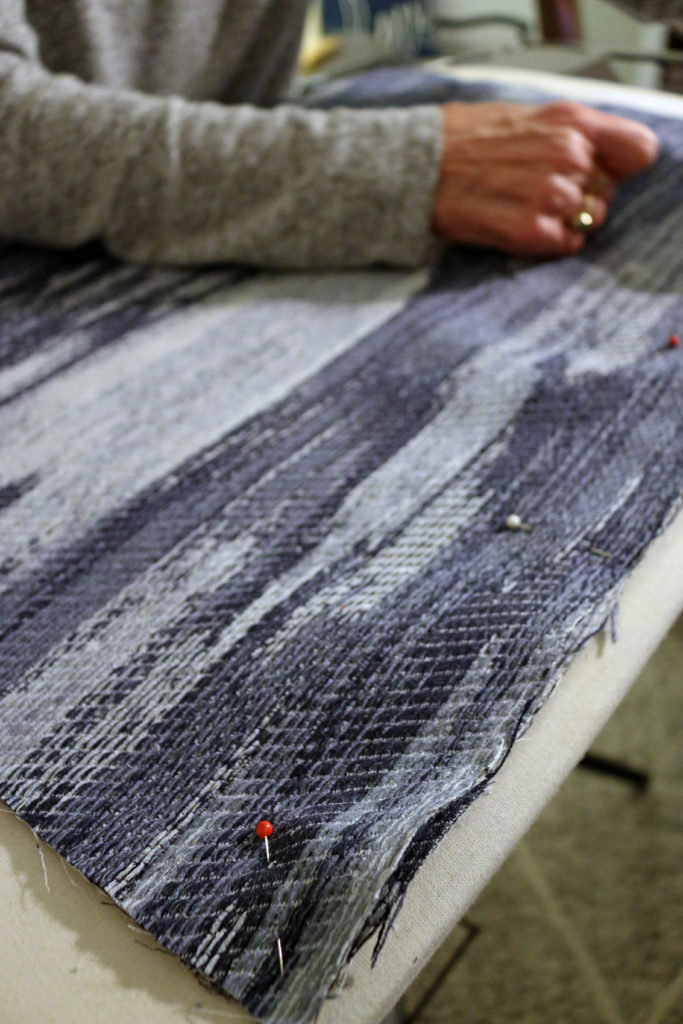
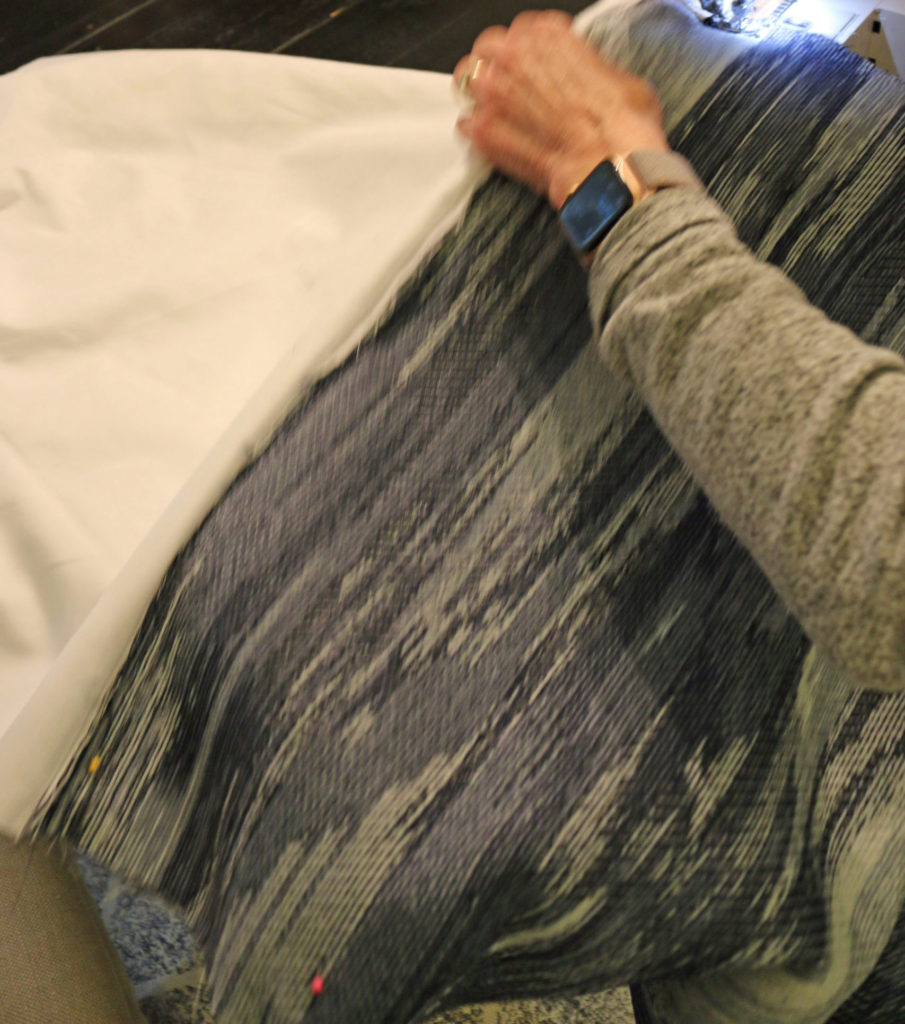
At 1/2″ from the end; mark with pin and turn at a 45 degree angle.

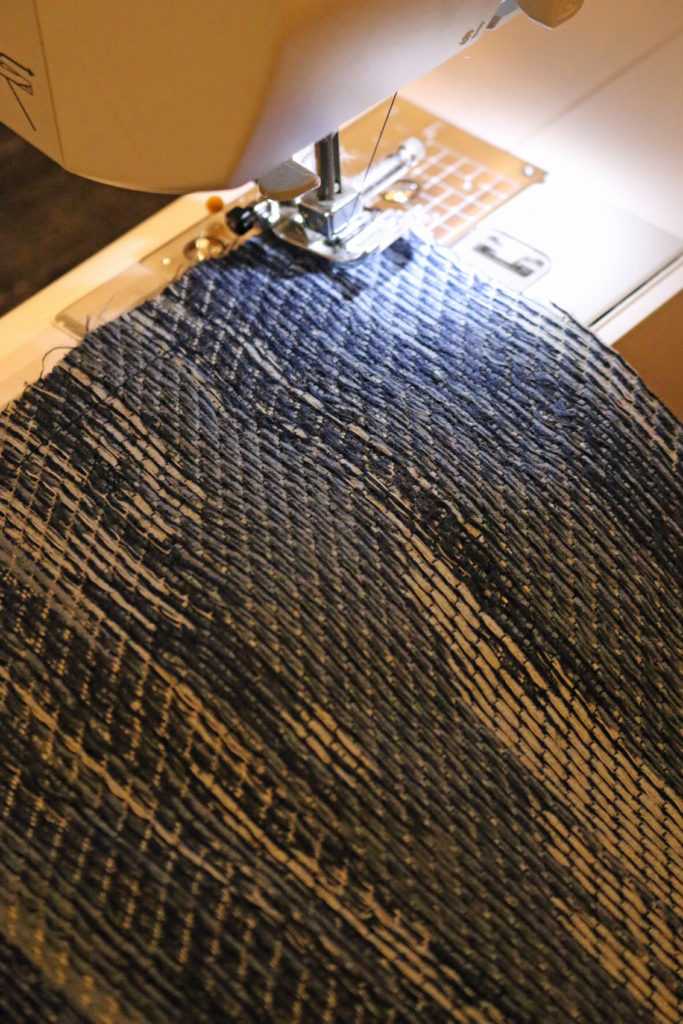
Do the same at each end.

Step 13:
Pin the lining front and back pieces with right sides together (make sure to leave 4″ unstitched opening for turning along the bottom) and sew in the same manner as the above step, but now sew carefully over the zipper coil.
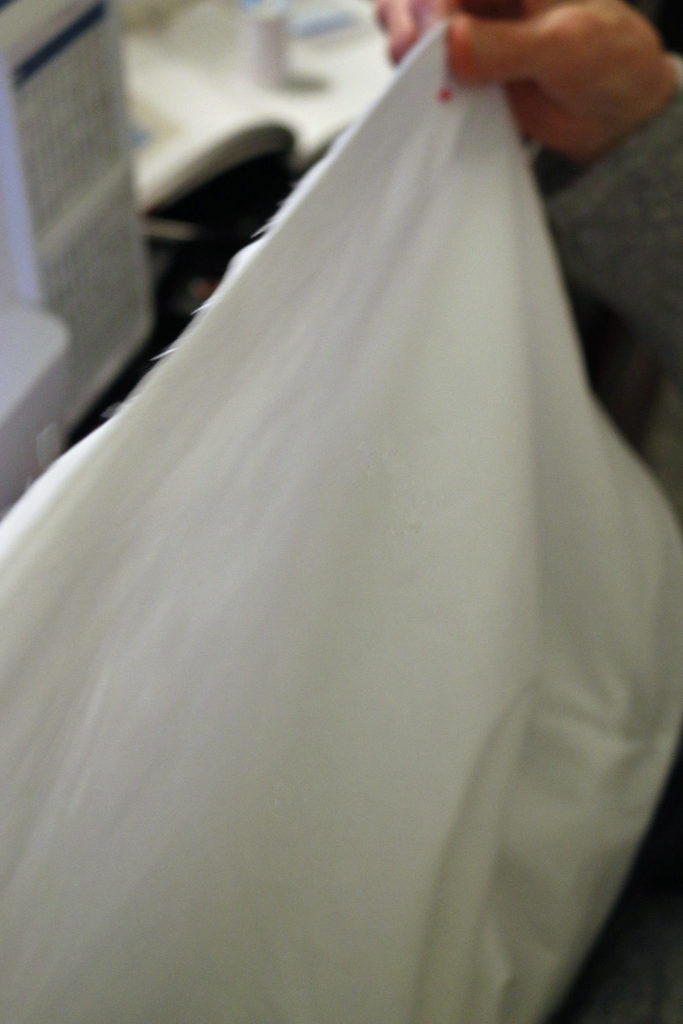
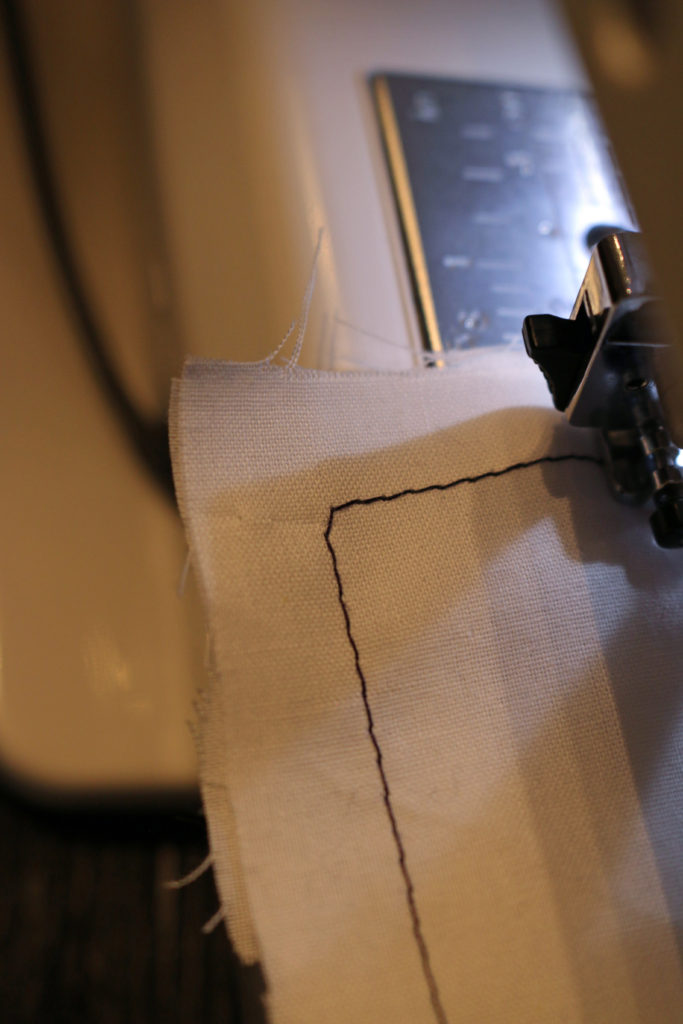
Leave 4″ unstiched along the bottom edge for turning.
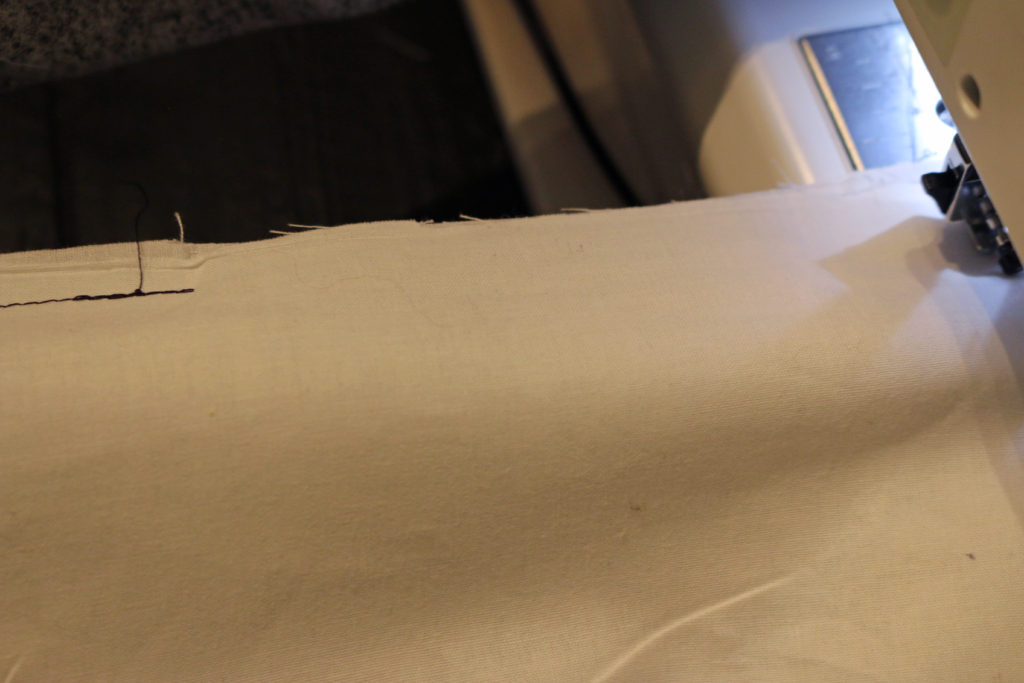
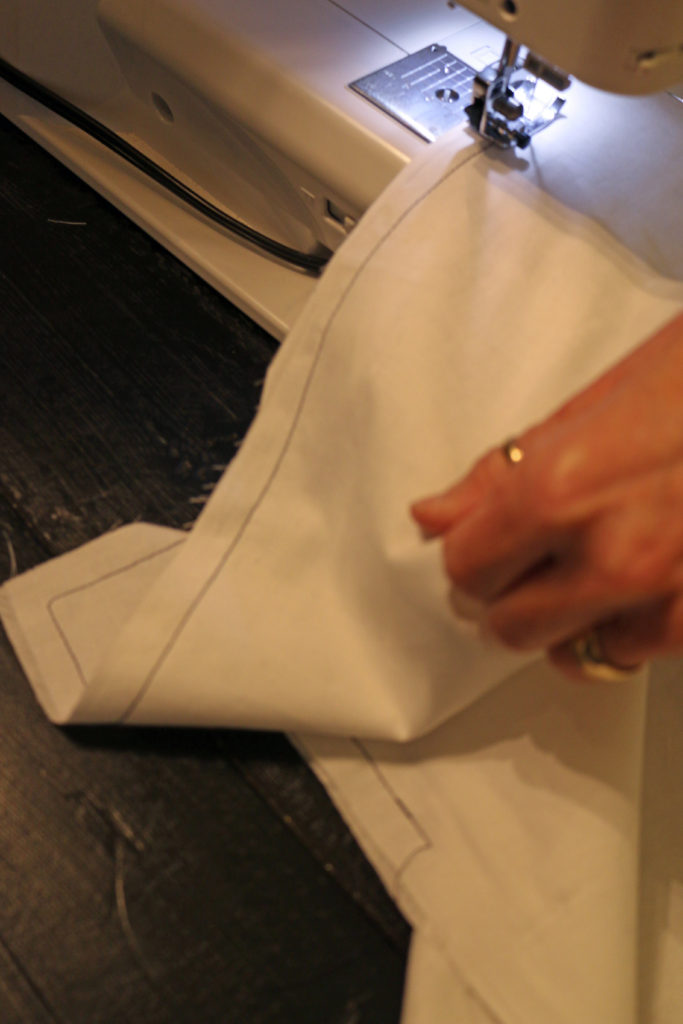
Trim the exterior corners of lining and fabric!
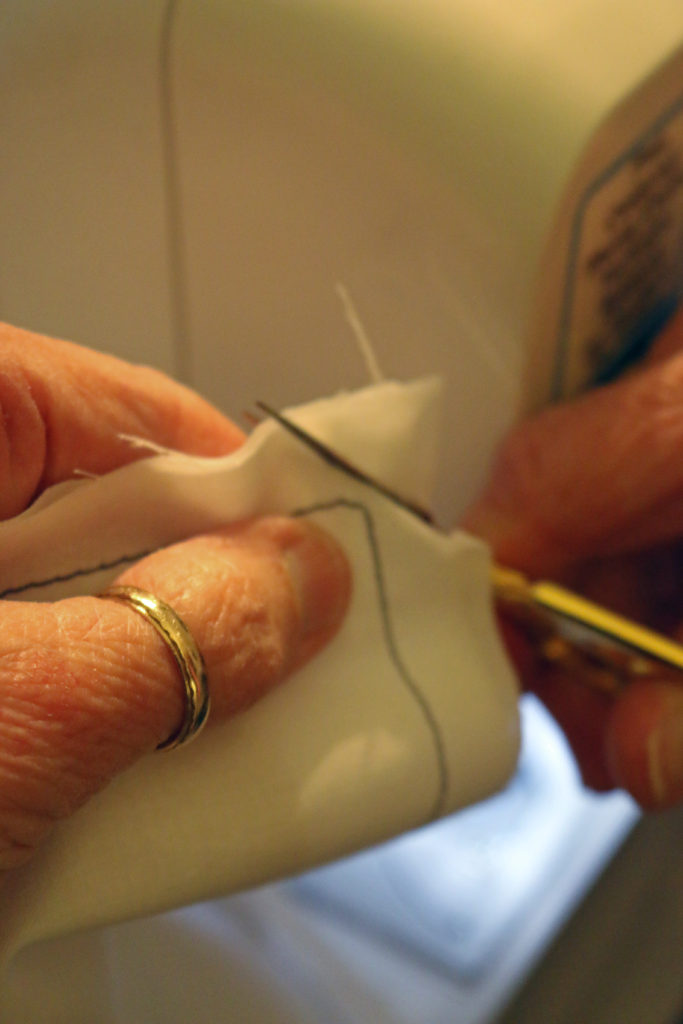
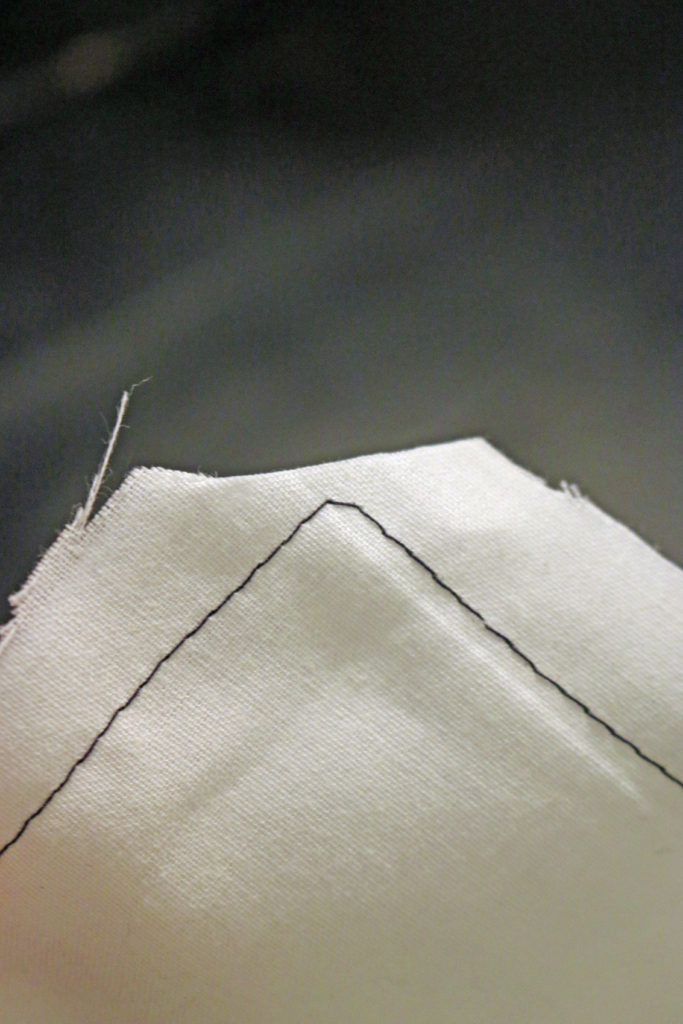
Step 14:
Turn the pillow cover right side out through the opening in the lining.
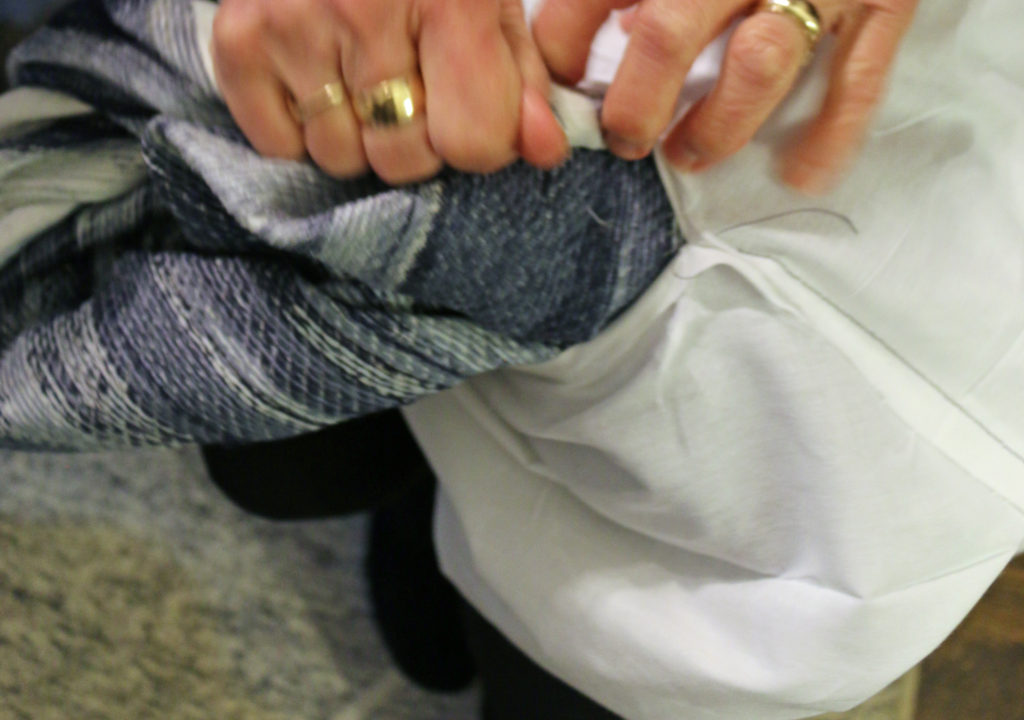
Stitch up the 4″ lining opening closed.
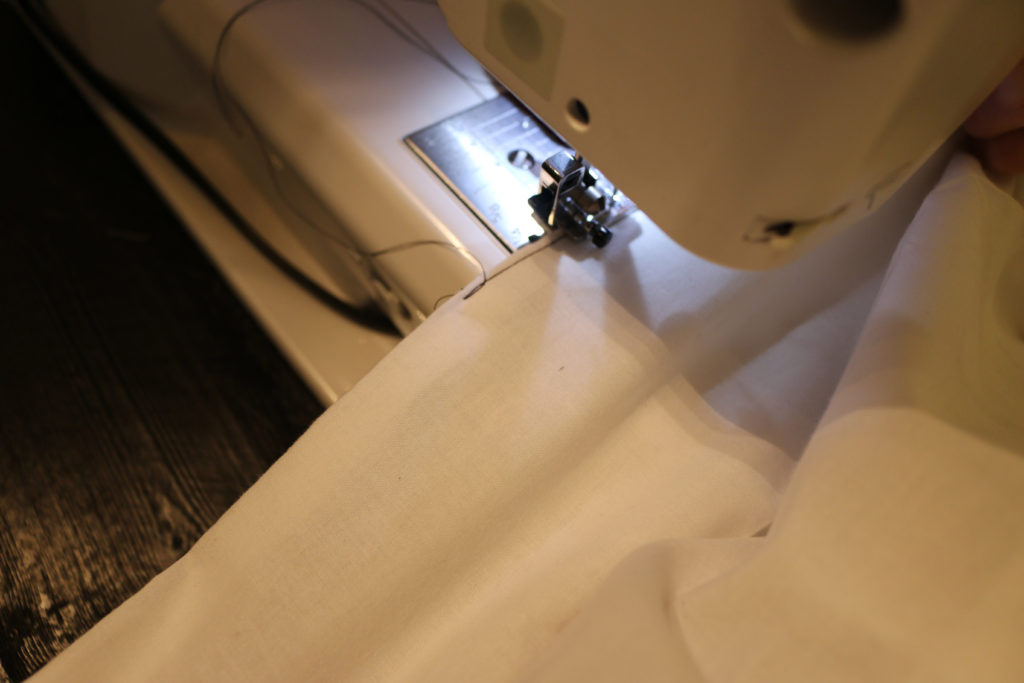
Push lining into the pillow.
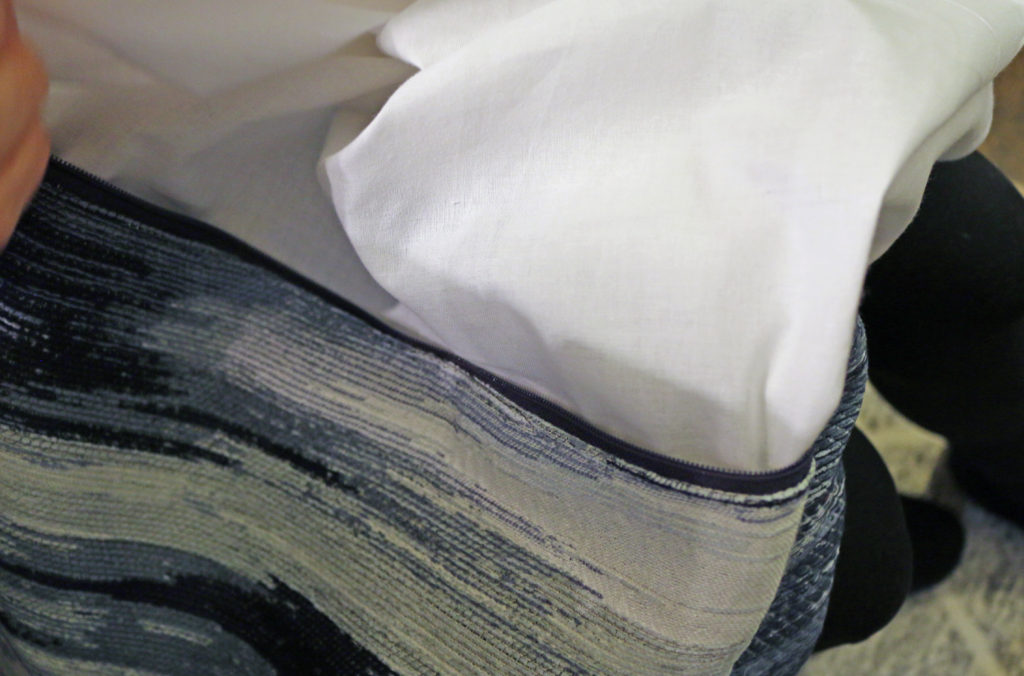
You can use a turning tool to push out the corners.
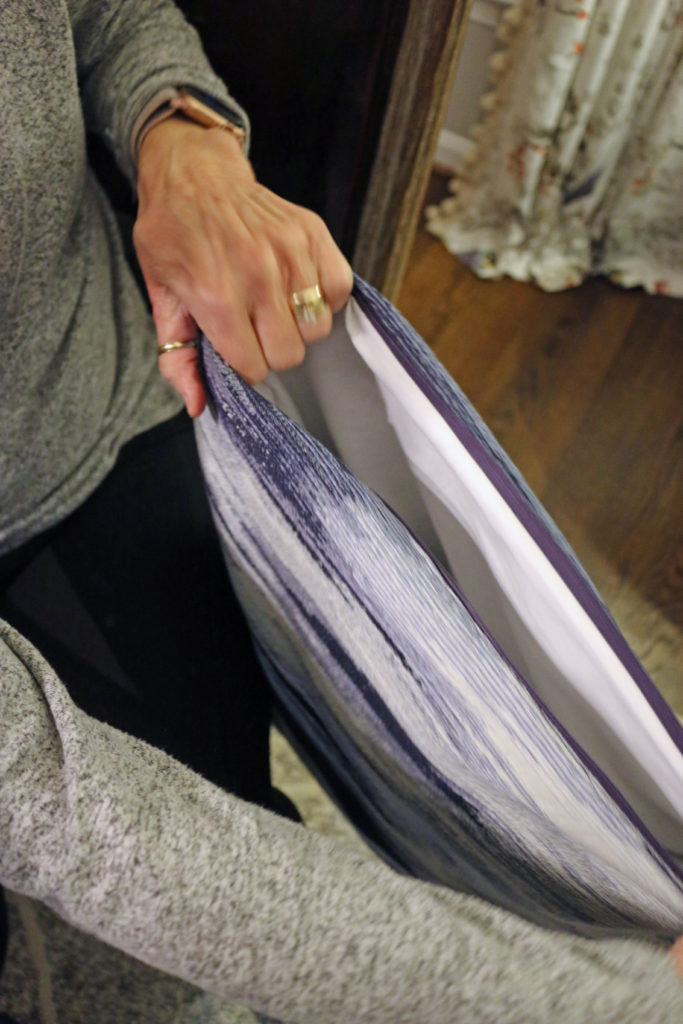
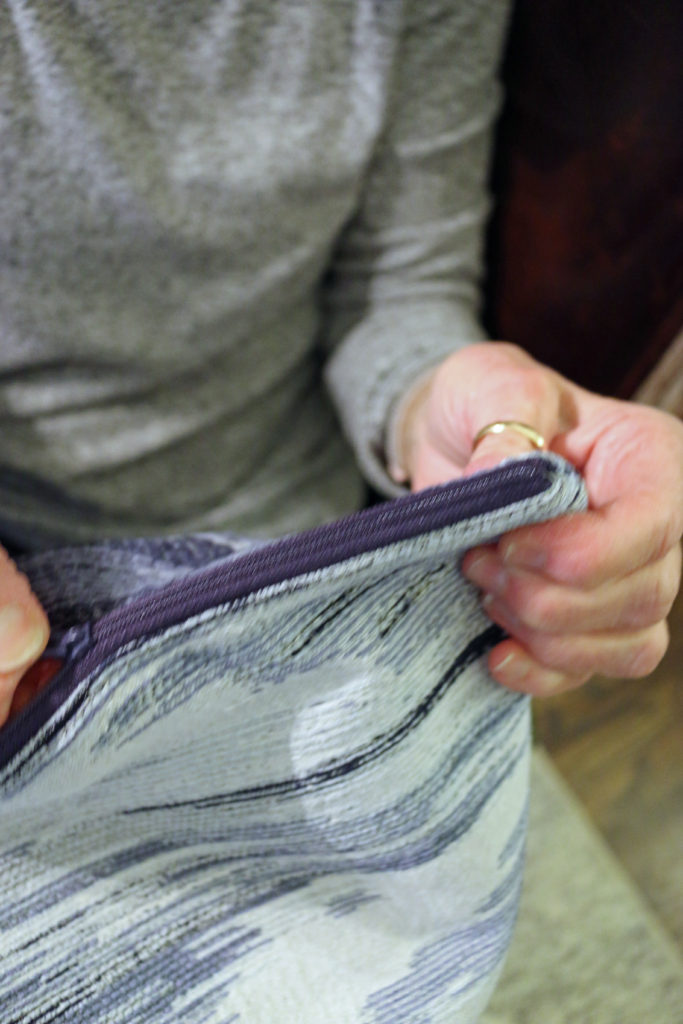
Press the pillow cover flat and you have just completed your pillow cover.
Pillow Forms:
I recommend buying feather pillows inserts. It gives the pillow a more expensive look and you can fluff it right back after someone has laid on it rather than it looking like a flat cotton pancake! You can find feather pillow inserts on Amazon, at Homegoods, and most department stores. I would recommend sizing up to give your pillow a full & more expensive look. So if you have a 20″ pillowcase use a 22″ pillow insert.
(Click To Shop)
Last step is to karate chop the pillow and your designer look is complete!

I hope you have found this tutorial helpful and that you get inspired to pull out your sewing machine and give this easy pillow cover with a zipper a try! You can have designer looking pillows throughout your home with a fraction of the cost!

You May Also Like To Read: How to Make a Lined Drapery Panel
Don’t forget to Pin It!!!


Very Nice blog! thank you sharing this content really gone help to those who don’t know how to sew a pillow cover.